Fill a large pot about 1/2 full of water.
While water is preparing to boil, write the initals of each person's omelet on a quart size FREEZER Ziploc bag. This will help to tell them apart once they are finished.
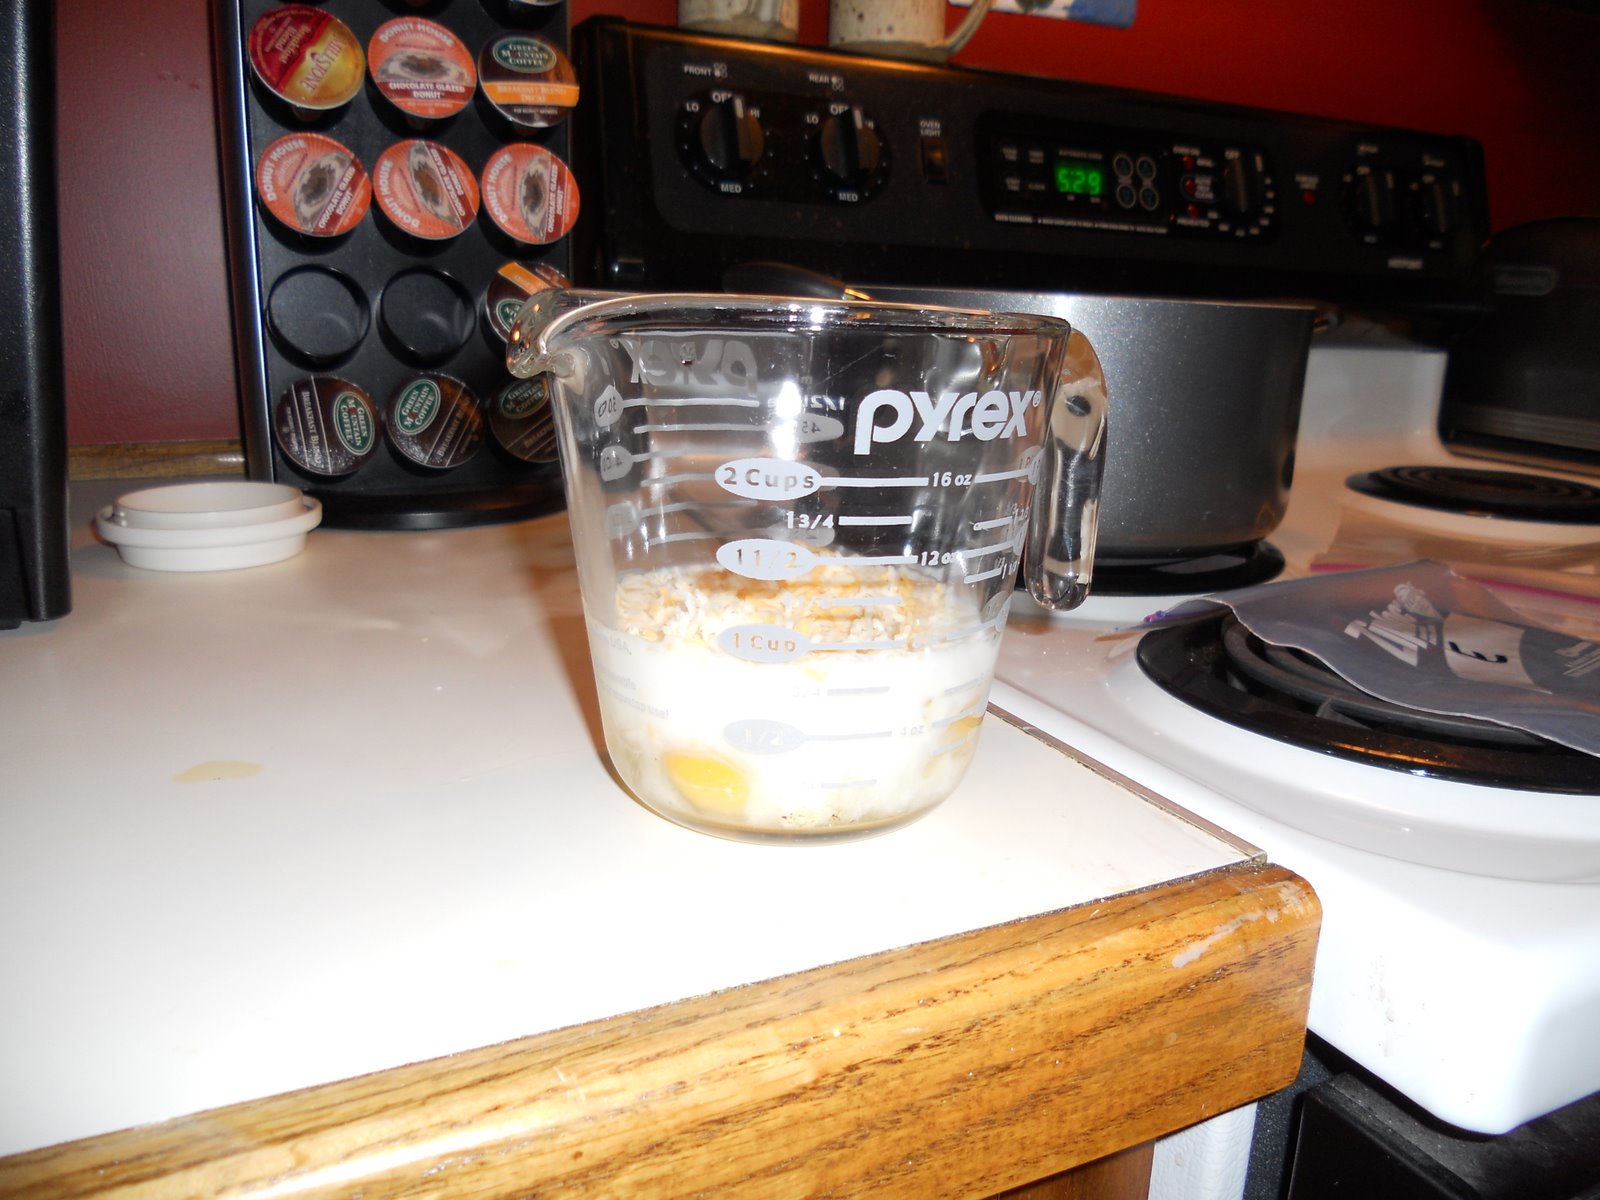
Crack two eggs in a liquid measuring cup (the first time I made the omelets, I cracked the eggs directly into the bag. You can opt do this, but it is a MUCH messier step. Trust me.)
Add the ingredients of your choice to the eggs. I added milk and cheese to this one. Make sure not to add too much milk, as it will expand. However, you can make a very light and fluffy omelet by adding milk. Just be prepared for how large it will be... as you will see in later pictures! LOL!
Dump the ingredients from the measuring cup into the bag.
Squeeze out all of the air and zip the bag closed.
Looks delicious, huh? Now you need to squeeze or shake the bag to mix up the ingredients.
Here are our three omelets ready to take the plunge. DH likes a LOT of toppings in his omelet, to hide the taste and texture of the eggs. It turns out almost like a crustless quiche. Pretty tasty, I might add!
Add the bags to the boiling water. Boil for 13 minutes. If you added milk, there will be "water" you'll need to drain out of the bag once they are finished.
Use tongs to pull the omelets out of the water. Put them on a paper towel to absorb the water from the outside of the bags.
Open the bags, and the omelet will slide right out of the bag onto your plate! The omelet on the purple plate is DD's omelet. Remember how much milk I added? Oops. Giant omelet. But man, was she thrilled! (To put it in perspective, those are regular sized pancakes....)
Here is my omelet. I used less milk in mine. Sorry for the incorrect lighting of the picture, but you can see that it is a perfectly shaped, light and fluffy, non-greasy, ham and cheese omelet. Yummy!
Hope these step by step directions help! Contact me if you have any other questions, and I'll try to help. Bon appetit!


No comments:
Post a Comment